|
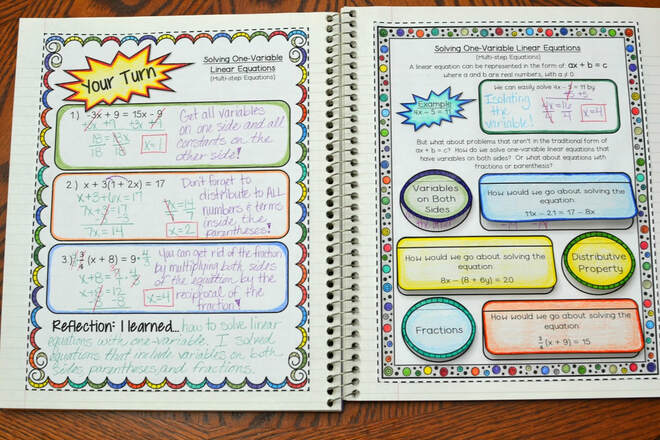
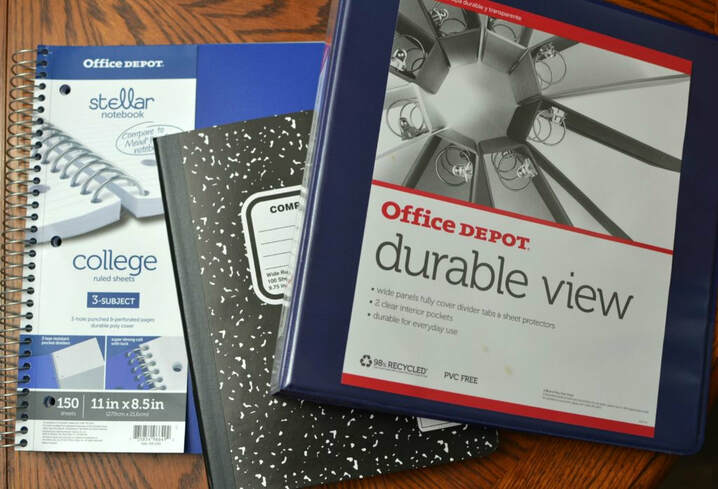
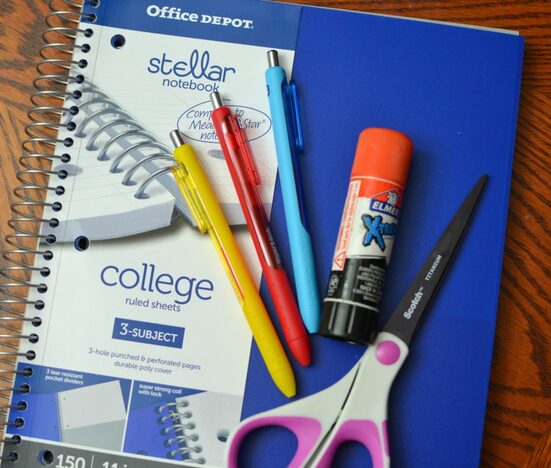
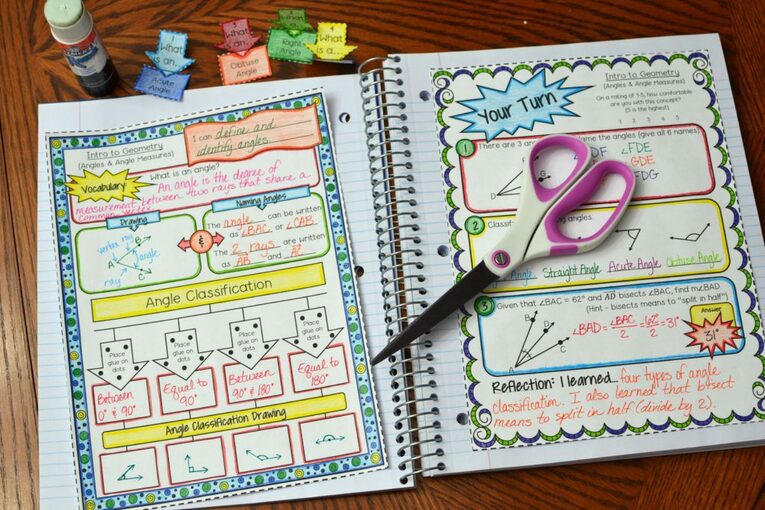
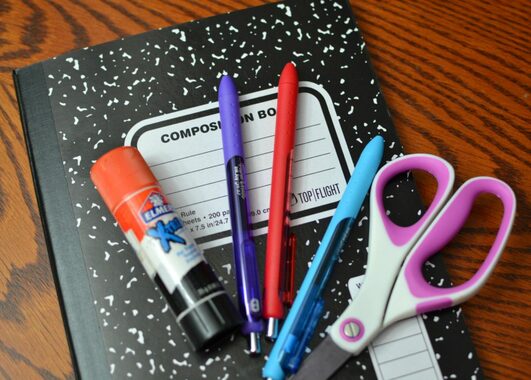
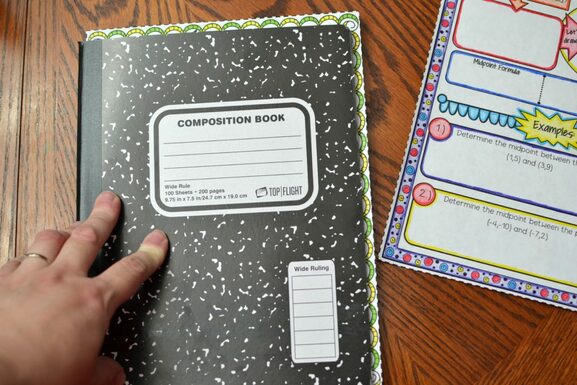
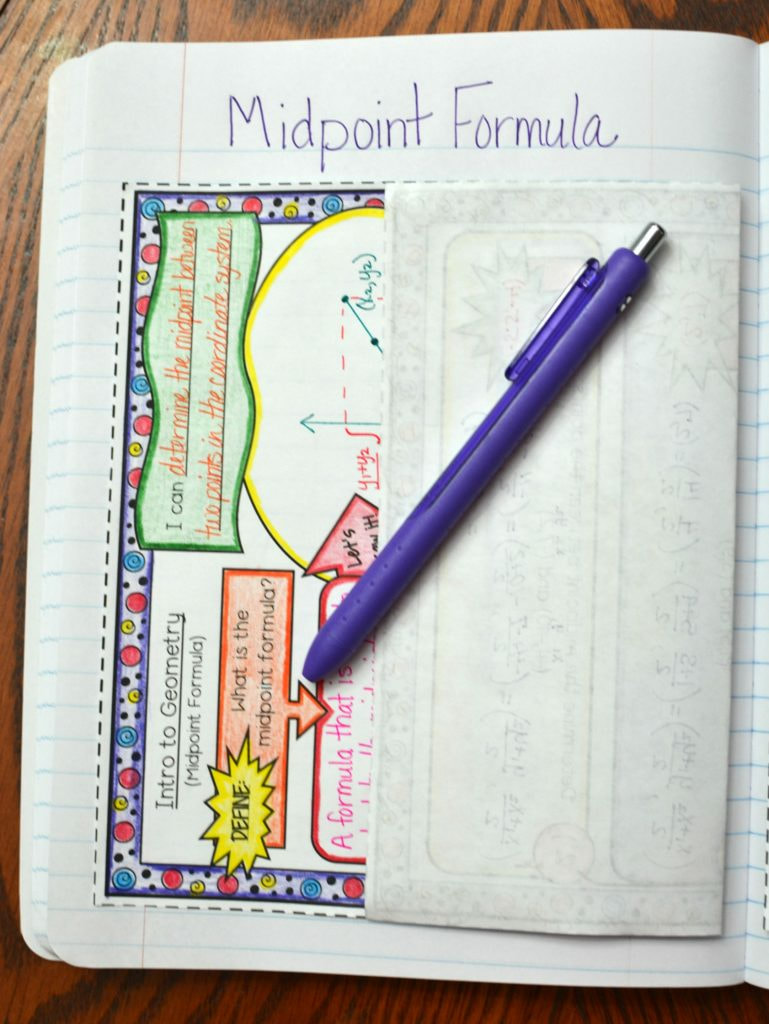
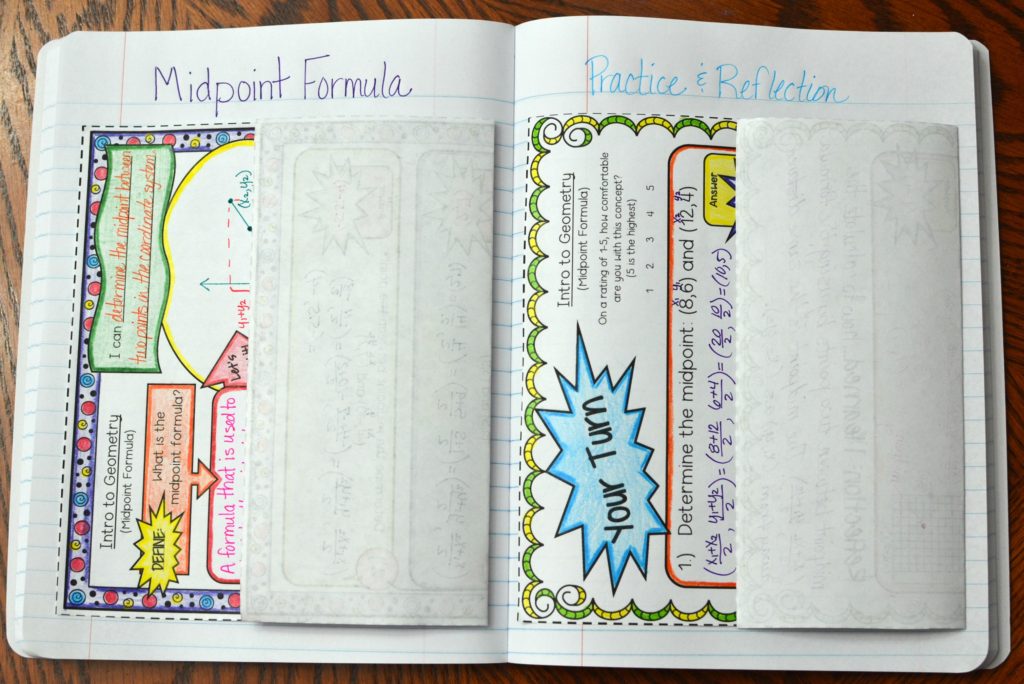
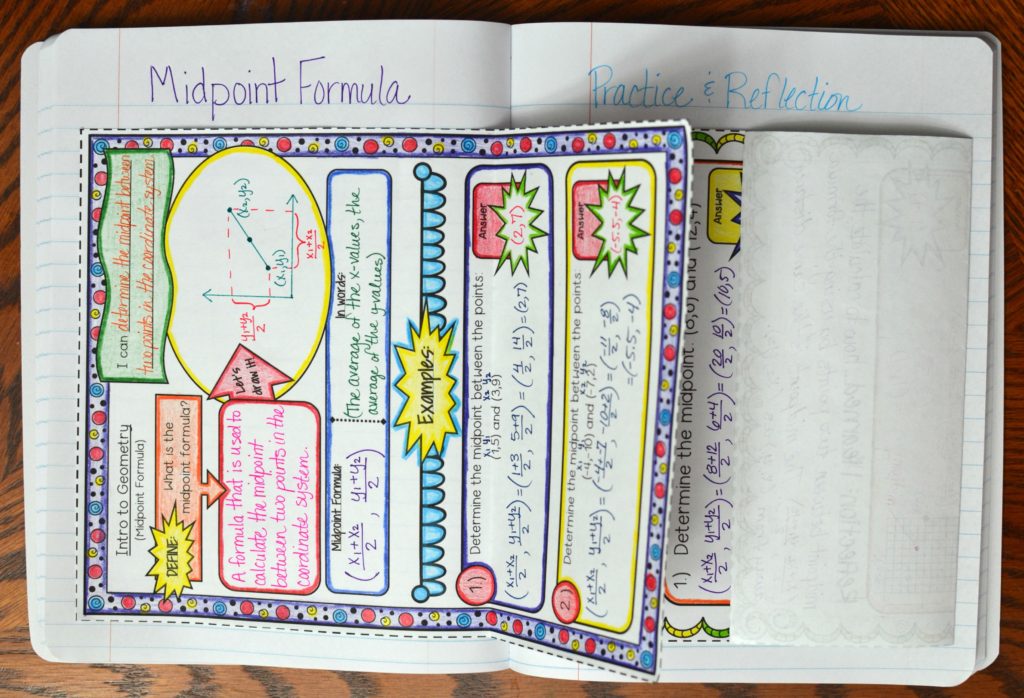
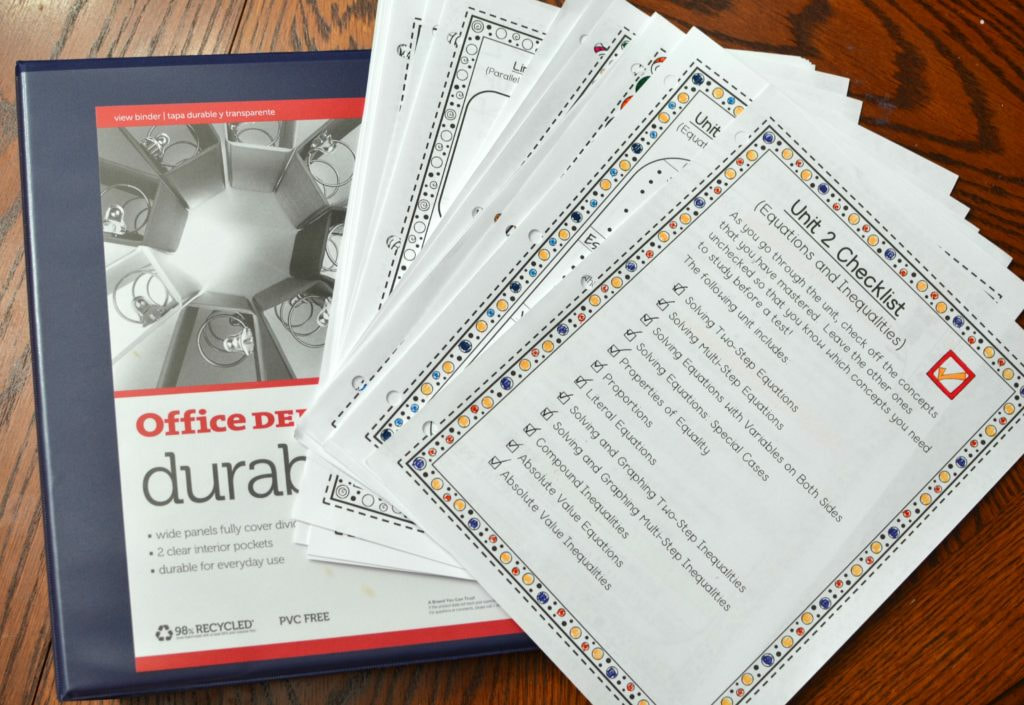
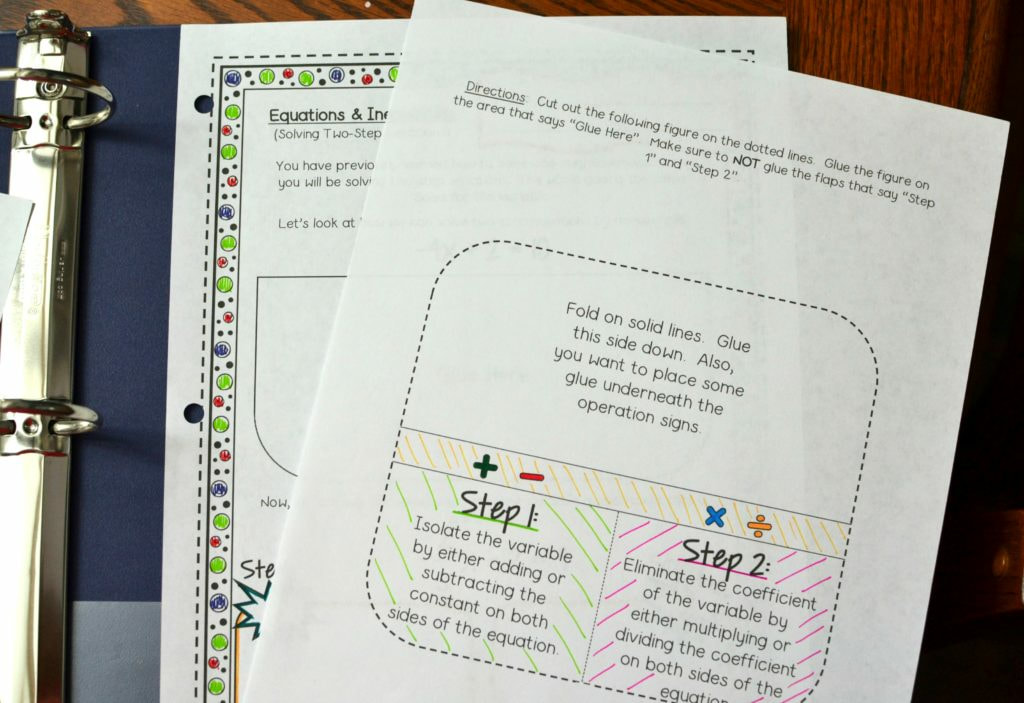
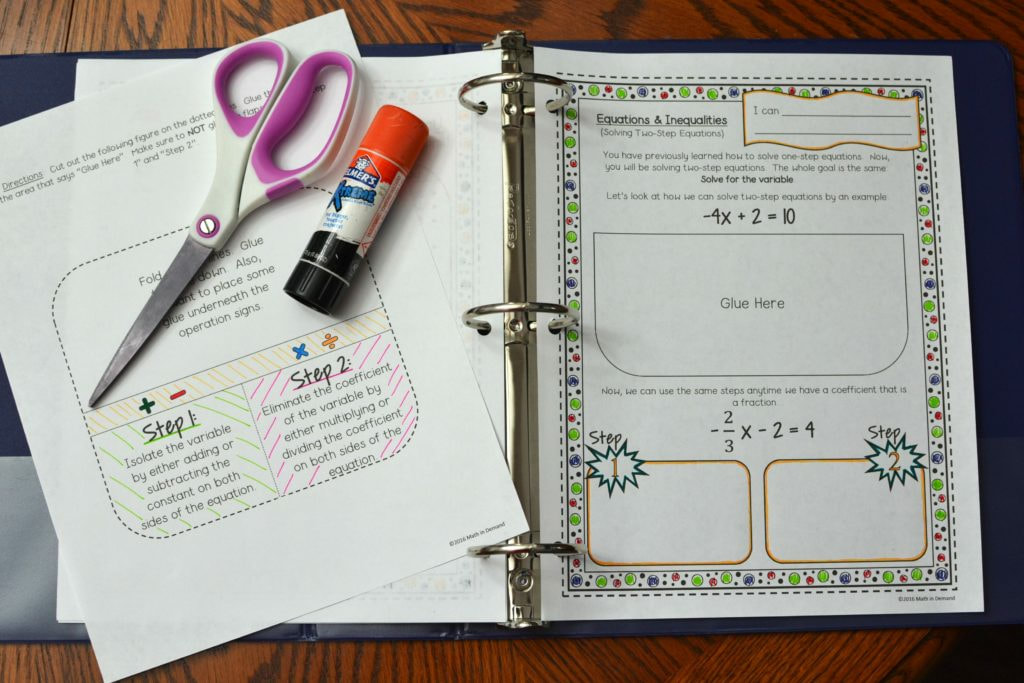
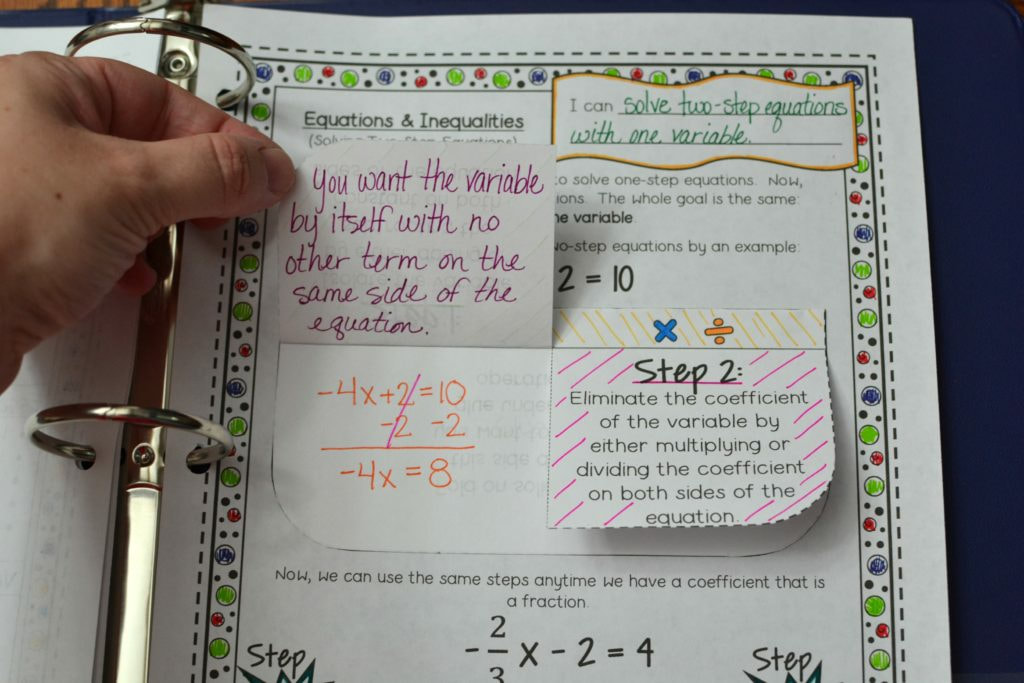
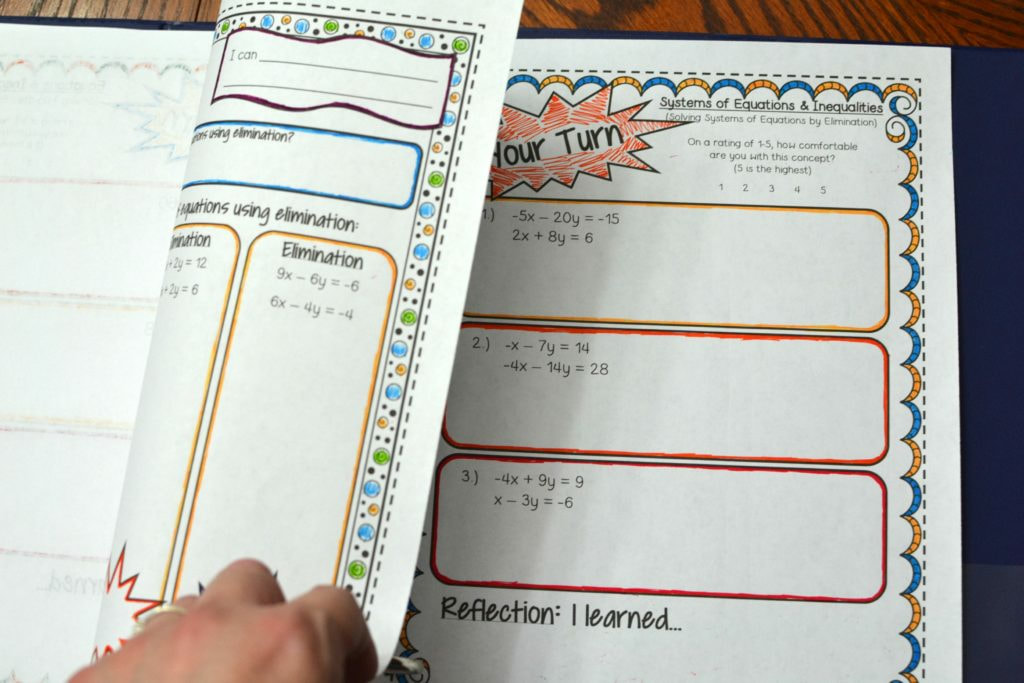
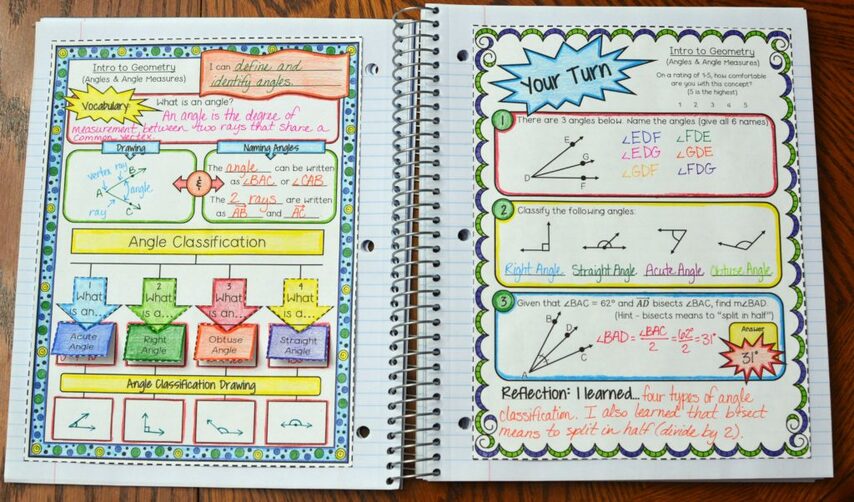
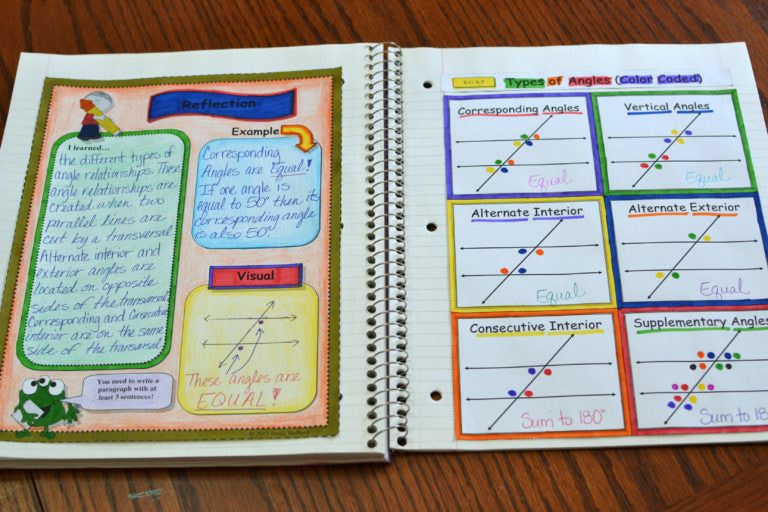
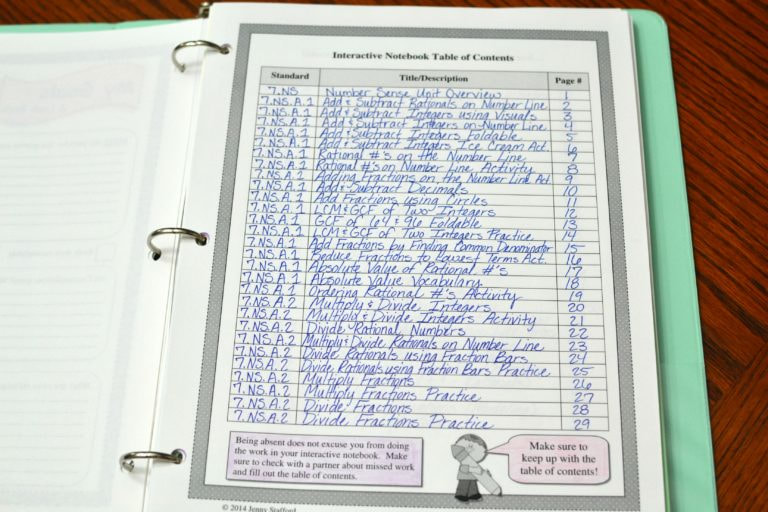
Interactive notebooks are the LATEST trend in the classroom. If you’ve never tried interactive notebooks in your classroom, then you will definitely want to read this and see all of my pictures below. I will cover what an interactive notebook is, the pros and cons of using one, and how I use interactive notebooks in my classroom. (1) What is an interactive notebook (INB)? An interactive notebook is an organized notebook filled with lecture notes, interactive activities, and/or reflection activities. The extent to how many interactive and reflection activities varies depending on each teachers’ preferences. Most of the interactive activities range from foldables to cut-out activities. The reflection activities can be as simple as a quick write up, self reflection, brainstorming, or a drawing. Some teachers might not even ask students to complete reflection activities, or if they do, they might not do it to the extent of what other teachers feel is necessary to actually benefit from an interactive notebook. That is why if you scavenge the internet looking for ideas on how to do a interactive notebook you will find so many different templates out there. You might read that some teachers require students put information that they are given (for example, lecture notes or lab worksheets) on the left side (called “teacher input” side) and on the right side what they create (called “student response” or “output” and an example would be like a quick write up or some kind of reflection). Some teachers might even reverse the order. (2) What do I need if I want my students to start an interactive notebook? In order to start an interactive notebook, you will need students to buy a notebook (or binder) and glue. I always provide scissors and crayons (or colored pencils) for my students. I’ve heard some teachers say that they buy a big pack of glue sticks and sell them to students for the same price that they bought them for at the store. I haven’t had much issues with this because students are also doing interactive notebooks for other subjects so they always have their glue with them that they purchased in the beginning of the year. Now, you can decide if you would like students to complete their interactive notebooks in a spiral notebook, composition notebook, or binder. Option 1 - Spiral Notebook: If you decide to use a spiral notebook, I recommend using a college rules sheets that has at least 150 pages. The pages will fit perfectly in the spiral notebook. Option 2 - Composition Notebook: Most teachers like to use composition notebooks in their classroom because the notebooks are smaller and less expensive. I constantly get asked if my interactive notebook pages will fit in a composition notebook. My answer is yes, but with certain options. As you can see from the picture below, my pages hang over a little bit. Yet, this is only the border. So you have two options. The two options are that: (1) You can cut the border (which is only for decoration anyways) and it will fit perfectly, OR (2) fold the page and glue down the bottom. If you decide to do option 2, you can have students fold it with the concept showing. Students can still see what the concept is instead of it folded half way. You can also write the concept on the top of the page so that it is very noticeable. Option 3 - Binder: If you hate glue sticks then this might be the best option for you. Students still need to use some glue for the little foldables but it is far less than with a notebook. You just need to print the interactive notebook pages with three hole punches. Saves class time for any class that is limited with time. It is up to you on which option you think would work best for your classroom. I have used all 3 options and they all have their own pros and cons. (3) What is your routine for using interactive notebooks? How do you use implement them in your classroom? Where do pages go? Every math concept in my interactive notebook comes with two pages: (1) Left side is introduction and (2) right side is practice ("Your Turn"). Before I get started with instruction, I pass out both pages to my students and have them cut and glue the pages in their notebooks (or binder). I have students write down the page number on the bottom of the corner (either left or right) and have students fill in the table of contents. If I am limited with time, I will start the instruction and tell students to make sure to glue the pages in their notebook as part of their homework. After students have glued the pages:
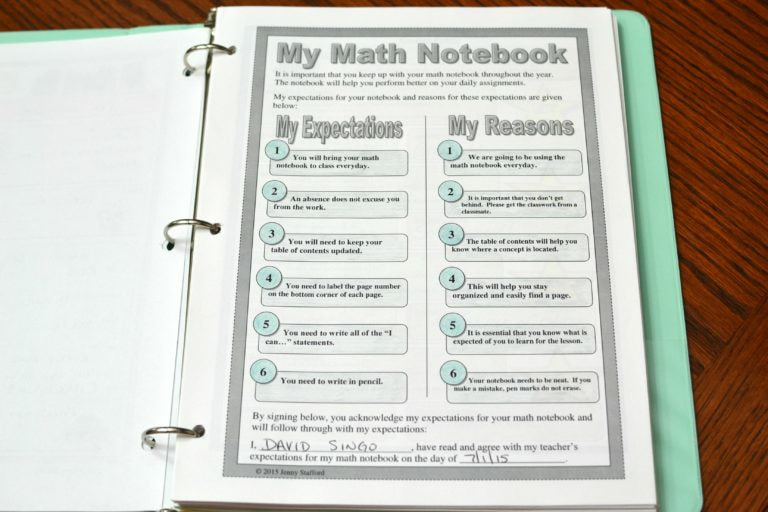
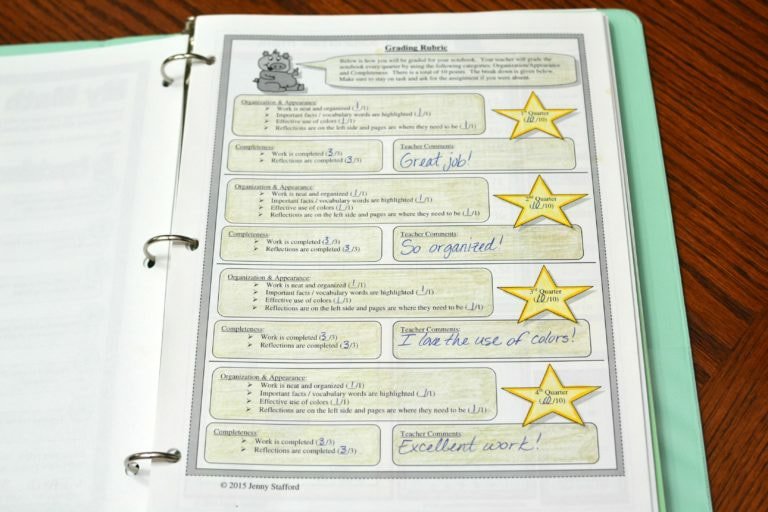
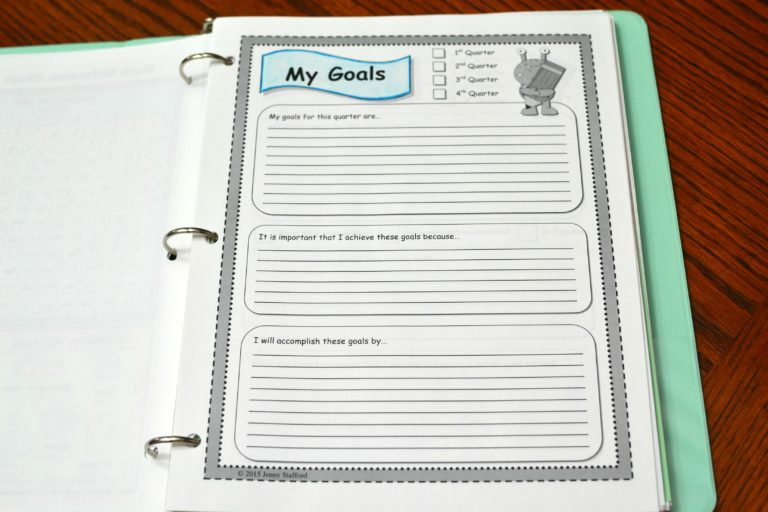
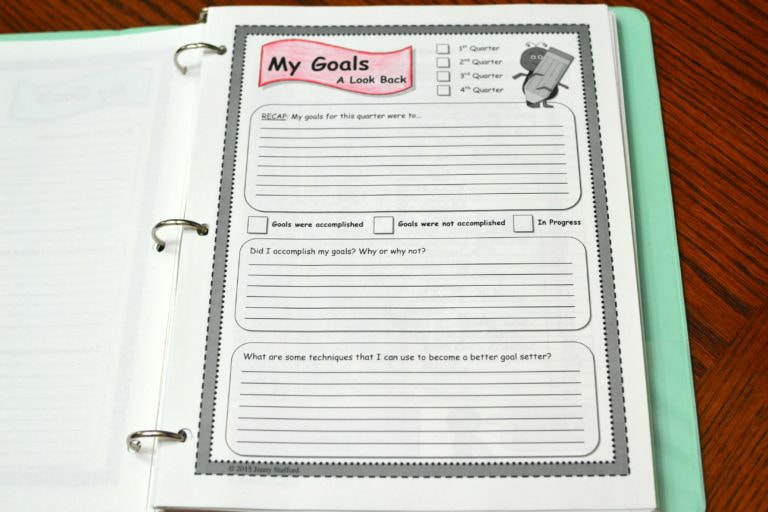
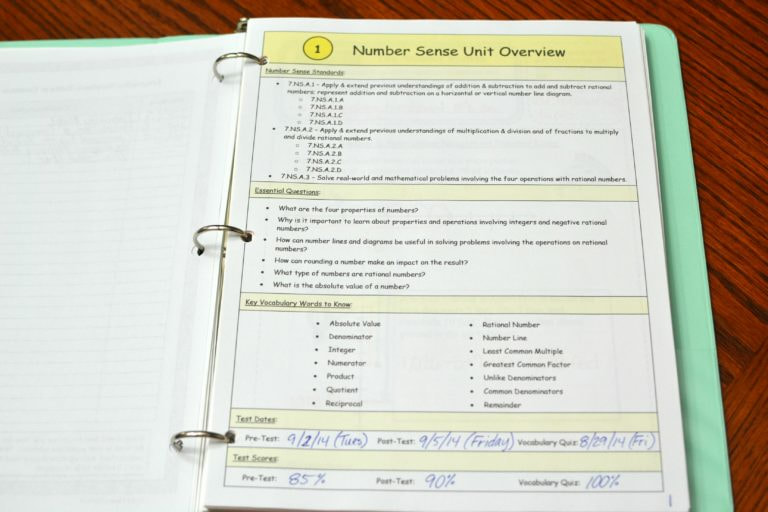
(4) What is a notebook starter? All of my notebooks come with a notebook starter. The notebook started is my "unit 0". This unit is a great way for students to start their notebooks. These include classroom rules (or classroom expectations), notebook expectations, grading rubric, setting goals, a look back at goals, reflections page, table of contents, and unit overview.
I absolutely love starting the year out right with my unit 0 and starting a routine with my students. So, I have decided to provide my Algebra notebook starter for free! You can get my Algebra notebook starter (unit 0) for free by CLICKING HERE. (5) What are the pros of using an interactive notebook?
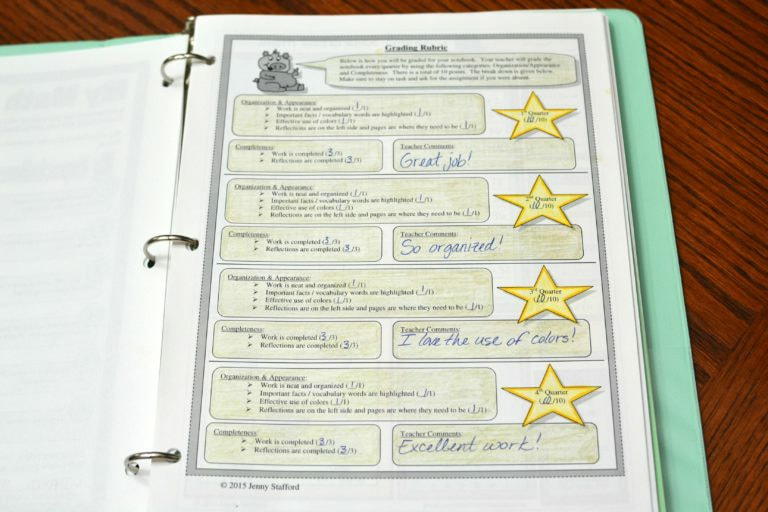
It depends on the teacher. I have used interactive notebooks for many years and each year I like to try something new to see which way works best. This year, I have students be responsible for their notebooks and they have to bring them to class everyday. I have not had any issues with students bringing notebooks because they know that we are working in them daily. I firmly believe that if you are consistent in using interactive notebooks then students will see how much they are used in the classroom and will bring them to class. They will not forget them at home. Yet, if you do have 1 or 2 students that forget them at home, then you can tell them that they will need to make sure to pay close attention to where the page goes and complete the gluing at home. Now, the binders were very easy for me to store in my classroom in an organized way. I have bookcases in the back of my classroom and I placed labels for each period. Students knew exactly where to place them according to their period. In the beginning of the school year, I had students create a side label with their name on it. I placed their label with their name on it, on the side of their binder. Hence, it was extremely easy for students to see their name and grab their interactive notebooks when they were placed in the bookcase. You can see an another example of a math interactive notebook as a binder below: (7) How do you grade your interactive notebooks? Interactive notebooks are usually around 15%-25% of a student's overall grade. I grade interactive notebooks by using my grading rubric (as shown earlier). I grade by organization and completeness. I assign a certain amount of points to each category below:
(8) How is my interactive notebooks any different than others? My interactive notebooks are not the same as the traditional interactive notebooks. My interactive notebooks are more organized, and are an excellent way to introduce and reinforce math concepts. My notebooks are a great study tool and provide a reference for any struggling students. Students will be engaging and learning far more using my interactive notebook than others. (9) How many interactive notebooks do you have? I have math interactive notebooks that range from 6th grade to high school. You can purchase my notebooks by CLICKING HERE. You can see a video on my 7th grade interactive notebook by CLICKING HERE. You can see a video on my Algebra interactive notebook by CLICKING HERE.
5 Comments
Laws of Exponents Wheel Foldable
2/17/2019
Not only do I have a traditional foldable for Laws of Exponents but I have also created a wheel foldable on Laws of Exponents since my wheel foldables have been very popular. Included is a wheel foldable on laws of exponents. This is a great foldable for students because it has all of the information in one location. Students will be going over the laws of exponents: power rule, quotient rule, product rule, negative exponent rule, zero rule, power of a product rule, and the power of a quotient rule. There are 2 layers: (1) goes over the rules, and (2) shows an example. You can print the foldable with the answers already printed or blank (students can fill out the blank template). Also, you can have students use the wheel foldable as a handheld study tool or have students glue it into their math interactive notebooks. Laws of Exponents Wheel Foldable
$3.50
Included is a wheel foldable on laws of exponents. This is a great foldable for students because it has all of the information in one location. Students will be going over the laws of exponents: power rule, quotient rule, product rule, negative exponent rule, zero rule, power of a product rule, and the power of a quotient rule. There are 2 layers: (1) goes over the rules, and (2) shows an example. You can print the foldable with the answers already printed or blank (students can fill out the blank template). Also, you can have students use the wheel foldable as a handheld study tool or have students glue it into their math interactive notebooks.
File Type: PDF Pages: 3+ Answer Key: Included |
ArchivesCategories |
(C) 2017 MATH IN DEMAND

 RSS Feed